The time to learn how to use and why to use Python virtualenv has come. This tool allow us to create isolated virtual environments for programming in Python. With it, you’ll be able to use different libraries or even different versions of Python itself, without conflicting them with each other.
In this article I will show you how to install, create and use your virtual environments using Python virtualenv and we will also talk about why you should already be using virtual environments.
No more conflict errors…
Python, like most other modern programming languages, has it’s own way of downloading, storing and resolving packages (or modules).
Even though it has it’s advantages, it also brings some ‘problems’ with it, particularly with how and where the packages are stored.
Consider the following case, where you have two projects: Project A and project B, both with a dependency in the same package, that connects Python to a Database, for example.
For project A, you need version v1.0.0 of this package; However, for project B you need version v2.0.0.
In Python, you cannot distinguish the packages between it’s versions in the default path site-packages. So, both versions of the package, v1.0.0 and v2.0.0, will be in the same path, with the same name.
Because you have both packages, equally named, in the same path, there is no difference between them. And as a result, both projects, A and B, will be forced to use the same version, which is unacceptable in many cases.
And here is where Virtual Environments and tools like Python virtualenv/venv come to play.
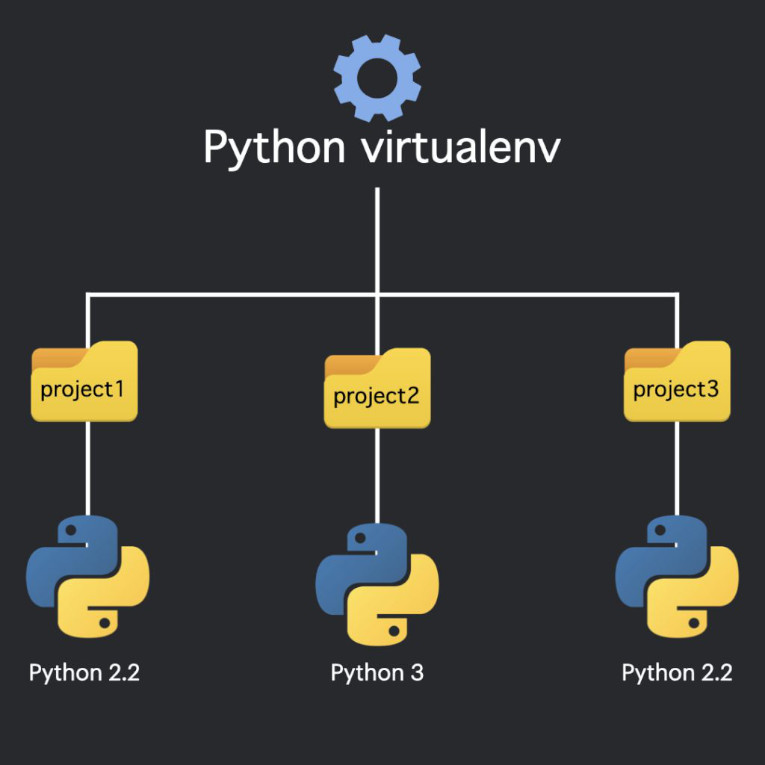
A virtual environment is a tree of paths, containing python’s files, executables and other files that indicate that it’s a virtual environment.
Inside of it, Python’s interpreter, libraries and scripts are isolated from others installed in other environments, and also from libraries and packages installed by default in your system.
It’s main goal is to create an isolated environment for projects in Python. This means that each project can have it’s own dependencies, no matter the dependencies of other projects.
Python virtualenv is a tool, used for creating isolated Virtual Environments in Python. This environment has it’s own install path, and doesn’t share it’s libraries with other virtualenv’s environments ( and, if needed, also excludes access to global libraries installed).
Not only is it the easiest, but Virtualenv is also the most advised way of creating a custom Python environment.
By default, Python 3 already comes with the venv package, that includes this feature ( not Python2). But virtualenv provides more features than venv.
See the link down below for a list of features that venv lacks in comparison with virtualenv.
First, for installing virtualenv we’ll need pip.
If you haven’t already, install it by clicking here and running the downloaded script with python get-pip.py.
After you have it installed, we just need to execute one command for installing virtualenv:
In macOS or Linux:
python3 -m pip install --user virtualenv
Windows:
py -m pip install --user virtualenv
Virtualenv is very minimalistic, It only has one command.
virtualenv
You can create a new virtual environment going to you project‘s folder and running the following command:
virtualenv <DIR>
Doing this, you’ll create a new Virtual Environment, with the Python’s version that was active when virtualenv was installed.
If you want to create a virtual environment in a different version of Python, just use –python (in short -p) when creating your instance of virtualenv and specify which version of Python you want to use; For example:
virtualenv --python=/usr/bin/python3.8 <DIR>
You need to specify the path of the folder of the version which you want to use. You can discover it‘s path by using:
which python
//or
which python3
While working in this project, you can enable the virtual environment to be sure you’re working with the right versions of your tools and packages. You can activate by running the following command:
source DIR/bin/activate
The name of the environment should appear in the left side of the prompt, for example:
(DIR) [server]$
However, if you need to disable the current environment, for using another environment or working in other project, just run the following command:
(DIR) [server]$ deactivate
This puts you back in the default configuration of your shell user.
Using Python virtualenv and creating virtual vnviroments helps you eliminate (or at the very least reduce) the conflicts between versions of packages and/or libraries.
If you’ve just started a new project, make sure to isolate it from other projects already; The faster the better. There are only benefits in this habit.
I hope this was useful! If you liked the post and think it will amp up your Python projects, don’t forget to subscribe by clicking here, or in the form down below, to receive our notifications!
We also have a lot of exclusive content there!
Until next time!
Leave a Reply